
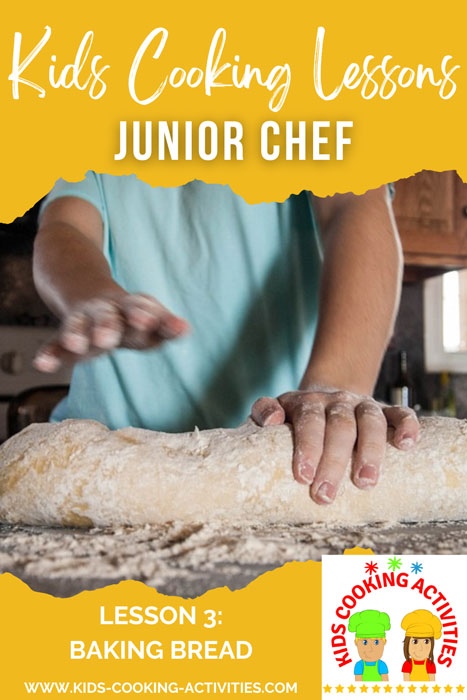
Junior Chef Lesson 3: Baking Homemade Bread
In today’s Junior Chef lesson, learners will work with bread dough and lear how to make homemade bread. Bread baking is a classic kitchen skill that teaches patience, measurement, mixing, kneading, and baking.
This lesson follows Junior Chef Lesson 2: Knife Safety and Stir Fry and introduces a different kind of kitchen skill: baking from scratch with yeast.
Making homemade bread is also a great science lesson. As you mix and prepare the dough, you can watch the yeast begin to activate and proof. Yeast is a living microorganism that feeds on the sugars in the dough. As it uses those sugars, it produces tiny bubbles of carbon dioxide gas. These bubbles become trapped in the dough’s stretchy gluten structure, causing the dough to expand and rise. This process is called fermentation, and it is what makes bread light and airy instead of dense and heavy.
Watching dough slowly grow larger in the bowl is a simple way for kids to see science happening right in the kitchen.
Start Here: Junior Chef Bread Lesson
- First yeast recipe → Bake the White Bread recipe and learn how yeast transforms simple ingredients into homemade bread.
- Learn bread science → Discover how proofing, kneading, and rising work together to create light, fluffy bread.
- Practice dough skills → Master measuring, kneading, shaping, and baking while following this lesson from start to finish.
- Continue learning → Explore our complete Homemade Bread Tutorial for more shaping ideas, bread bowls, monkey bread, rolls, and troubleshooting tips.
- Challenge yourself → Ready for a bigger project? Try making a Sourdough Starter and discover another way bread comes to life.
Kids Cooking Activities Teaching Materials
Teaching kids to cook? Save time with ready-made lesson plans used by parents and teachers. Browse teaching materials →


This page may contain affiliate links. We may earn a small commission at no extra cost to you. Learn more.
Lesson Focus
- Learn how yeast works
- Practice kneading and shaping dough
- Understand rising and proofing
- Bake homemade bread from scratch
Baking Homemade Bread
Convenience foods are everywhere, but they still cannot fully replace the smell and taste of homemade bread. Making bread from scratch can take time, but teaching this skill is well worth it. Learners build patience, observation, timing, and a better understanding of how ingredients work together.
Why This Lesson Matters
Bread baking helps learners see that cooking is not only about following steps. It is also about timing, observation, and understanding how ingredients change. That makes this lesson a strong bridge between cooking and food science.
Skills You'll Learn
Junior Chef Lesson 3 introduces several important baking skills that will help young cooks become more confident in the kitchen. These techniques are used again and again in bread baking and many other recipes.
Measuring
Practice accurately measuring dry and liquid ingredients while learning why precision matters in baking.
Working with Yeast
Learn how to proof yeast, recognize when it is active, and understand why warm water and time are important.
Kneading Dough
Build hand strength and coordination while developing smooth, elastic dough through proper kneading and shaping techniques.
Baking Skills
Practice patience, timing, and observation as you watch dough rise and bake homemade bread from scratch.
How to Make Homemade Bread
White Bread
By Kids Cooking Activities
- Yield: 2 loaves
- Skill Focus: Yeast bread baking


Ingredients
- 1/2 cup sugar
- 4 cups warm water, about 110 degrees
- 2 tablespoons yeast or 2 packages of yeast
- 1/4 cup shortening, melted, or canola oil
- 4 teaspoons salt
- 7 to 8 cups flour
- 1 tablespoon olive oil
Directions
- Dissolve 1 tablespoon of the sugar in the warm water.
- Make sure the water is about 110 degrees. If it is too hot, it can kill the yeast. If it is too cold, the dough may not rise well.
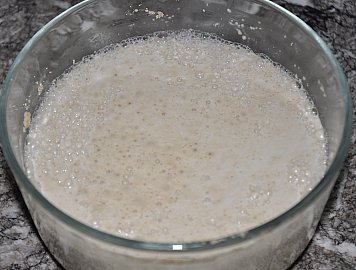
- Add the yeast to the warm water and sugar mixture. The yeast should begin to froth or foam.
- In a bowl, add shortening, salt, remaining sugar, and 7 cups of flour. Stir together.
- Add the yeast mixture and mix to make a soft dough.
- Add enough flour to create a dough ball.
- Turn the dough out onto a clean, floured surface and knead with your hands.
- In a large clean bowl, add 1 tablespoon olive oil and swirl to coat the bottom and sides.
- Place the bread dough in the oiled bowl. Cover with a towel and leave in a warm spot for 30 minutes.
- After 30 minutes, punch the dough down and knead for 1 minute.
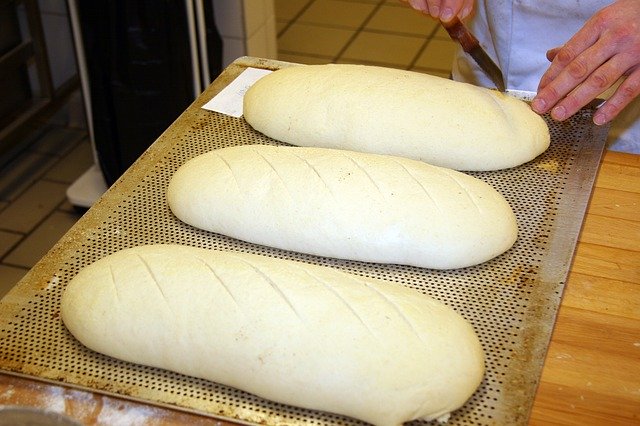
- Form the dough into 2 loaves and place them in 2 loaf pans.
- Cover again and let rise 30 minutes.
- Bake at 375 degrees for 30 minutes.
Teaching Tip: Let teens check the water temperature and watch the yeast foam so they can see the science in action before mixing the dough.
Teaching Homemade Bread as a Cooking Lesson
This Junior Chef lesson teaches the fundamentals. For additional shaping ideas, bread bowls, monkey bread, stuffed rolls, freezing dough, troubleshooting, and advanced bread projects, continue with our complete Homemade Bread Tutorial.Bread Science: Proofing, Kneading, and Rising
One of the best parts of baking homemade bread is watching science happen right before your eyes. As yeast becomes active, dough develops gluten, and the bread rises, kids can see how simple ingredients work together to create soft, fluffy loaves.
Step 1: Proofing the Yeast
When yeast is mixed with warm water and a small amount of sugar, it "wakes up" and begins feeding on the sugar. As the yeast becomes active, it produces tiny bubbles of carbon dioxide, causing the mixture to become foamy. This process is called proofing and lets you know the yeast is alive and ready to help the bread rise.
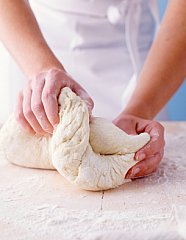
Step 2: Kneading the Dough
Once the ingredients are mixed together, kneading develops the gluten found in the flour. Gluten forms stretchy strands that trap the carbon dioxide produced by the yeast, giving bread its soft texture and helping it rise properly.
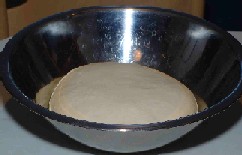
Step 3: The First Rise
After kneading, place the dough into a lightly oiled bowl, cover it, and let it rest in a warm place. During this first rise, the yeast continues producing carbon dioxide, causing the dough to expand until it has roughly doubled in size.
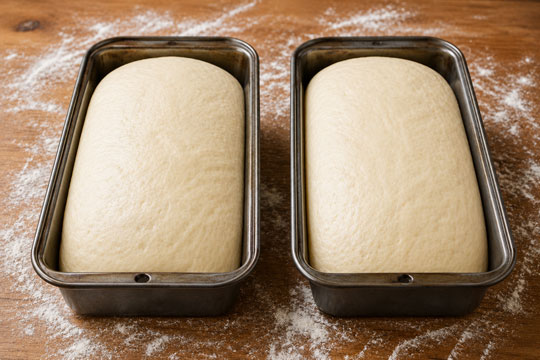
Step 4: The Second Rise
After gently punching down the dough and shaping it into loaves, rolls, or other bread creations, allow it to rise a second time. This final rise creates a lighter texture and helps the finished bread bake into tall, fluffy loaves with a tender crumb.
Ready to try another loaf? Learn how to make homemade whole wheat bread or continue exploring our complete Homemade Bread Tutorial.
How to Make Bread in a Bag- Fun Kids Cooking Activity
Want to see bread making in action? Watch this fun bread-in-a-bag activity that demonstrates kneading and gluten development.Use this lesson as part of a complete teaching plan. See how to teach cooking for lesson structure, and use kids cooking tips to make lessons run smoothly.
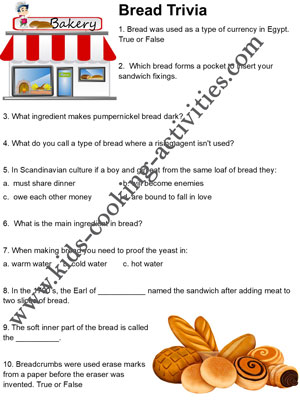
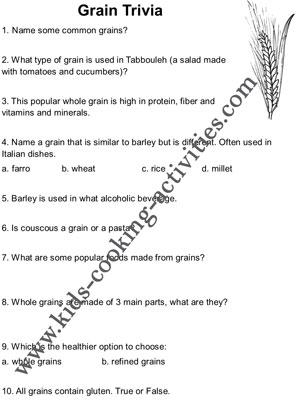
Continue Learning About Bread Baking
Now that you've completed Junior Chef Lesson 3, continue practicing your bread-making skills with more recipes, baking techniques, and food science activities. These resources will help you build confidence as you explore everything from beginner breads to advanced dough projects.

Follow our complete step-by-step guide to proofing yeast, kneading dough, shaping loaves, and creating rolls, bread bowls, monkey bread, and more.
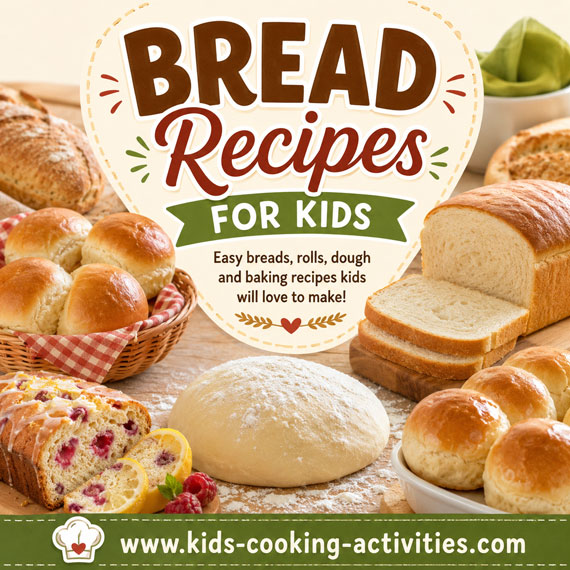
Keep practicing with homemade loaves, rolls, quick breads, breadsticks, pizza dough, and other family-friendly baking projects.

Build bread-making skills through printable lessons, recipes, and hands-on dough projects for every age.
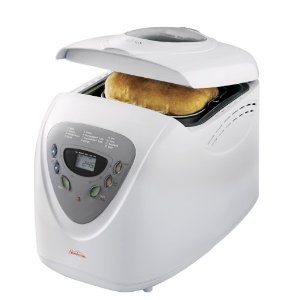
Discover easy bread machine recipes that let kids focus on ingredients and baking while the machine mixes and kneads the dough.


Skills Practiced in This Lesson
- Working with yeast
- Reading temperature carefully
- Kneading dough
- Understanding rising and proofing
- Baking from scratch
The Science Behind Making Homemade Bread
This activity is part of our Food Science Experiments for Kids collection where you can explore kitchen chemistry, growing experiments, and edible science projects.
Making homemade bread is a great example of food science in action. Yeast is a living organism that feeds on sugars in the dough and produces carbon dioxide gas. These tiny gas bubbles get trapped in the dough, causing it to rise and become light and fluffy. As the bread bakes, heat causes the gases to expand and the dough structure to set, creating the soft texture inside and a golden crust on the outside. Ingredients like flour, water, yeast, and salt all work together through mixing, kneading, and rising to transform simple ingredients into bread.
Start here → Assistant Chef → Build skills → Chef in Training → Advance → Junior Chef → Intermediate → Senior Chef → Master → Basic Cooking Lessons
Kids Cooking Lesson Plans
Want a done-for-you plan?If you're looking for a complete, ready-to-use system, these structured lesson plans and teaching materials can help you save time and confidently teach cooking step-by-step.
Explore Cooking Curriculum →
Frequently Asked Questions
Continue Your Junior Chef Journey
Keep building your baking and cooking skills with the next Junior Chef lesson or continue exploring homemade bread tutorials and family-friendly baking recipes.
Get Free Kids Recipe Cards + Cooking Printables
Join Kids Cooking Activities for fun recipes, cooking ideas, and printable resources for kids, families, and classrooms.
Follow Kids Cooking Activities too:





© Debbie Madson, Madson Web Publishing, LLC — All rights reserved.
The material on this site is for educational purposes only.