
Teaching Kids to Use a Blender Safely
Help kids confidently learn one of the most useful kitchen appliances while practicing important kitchen safety skills.
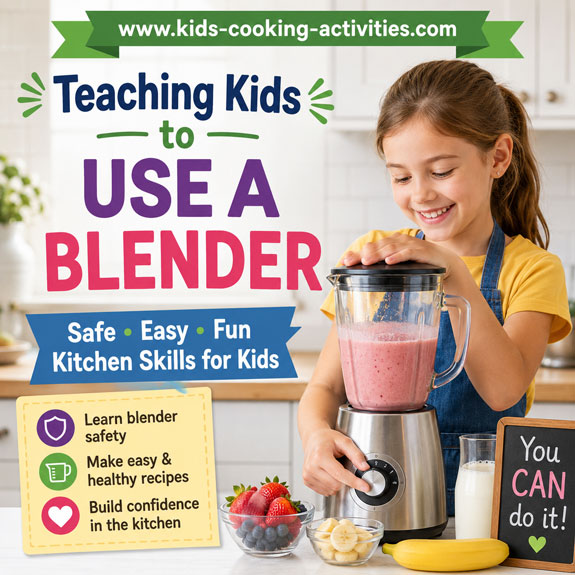
A blender is often one of the first electric kitchen appliances children can learn to use. It opens the door to making healthy smoothies, creamy soups, homemade salsa, frozen treats, pancake batter, sauces, and many other easy recipes.
Because blenders combine electricity with extremely sharp spinning blades, children should first learn proper safety habits before blending independently. With patient instruction and age-appropriate supervision, kids can quickly become confident and responsible blender users.
Start Here: Learning to Use a Blender
- First lesson — Learn the basic parts of a blender and important safety rules.
- Start with Easy Recipes — Begin with simple smoothies or milkshakes before trying more advanced recipes.
- Master the controls — Learn what each speed setting does and when to use Pulse.
- Clean correctly — Discover the safest way to wash a blender without touching the blades.
- Build kitchen confidence — Try soups, dips, sauces, pancake batter, and frozen desserts as skills improve.
Kids Cooking Activities Teaching Materials
Teaching kids to cook? Save time with ready-made lesson plans used by parents and teachers. Browse teaching materials →
This page may contain affiliate links. We may earn a small commission at no extra cost to you. Learn more.
On This Page
Blender Safety Rules Every Child Should Learn
Teaching children to respect a blender is far more effective than teaching them to fear it. Explain how the machine works, demonstrate proper use, and supervise each lesson until they consistently follow safe habits.
Blender Safety Checklist
- ✔ Always ask an adult before using the blender.
- ✔ Place the blender on a flat, stable countertop.
- ✔ Make sure the pitcher is locked into the base.
- ✔ Secure the lid before turning it on.
- ✔ Never place fingers or utensils inside while plugged in.
- ✔ Start on the lowest speed whenever possible.
- ✔ Turn the blender off before removing the lid.
- ✔ Unplug the blender before cleaning around the blades.
- ✔ Tie back long hair before using appliances.
- ✔ Never operate the blender with wet hands.
One of the best ways to explain blender safety is to show children how quickly the appliance turns solid foods into smoothies, sauces, or soups. Seeing how powerful the blades are helps children understand why they should never reach inside the pitcher while the blender is plugged in.
Know the Parts of a Blender
Before making a recipe, spend a few minutes identifying each part of the appliance. Kids who understand how a blender is assembled are usually much more confident and safer when using it. Different blender models may look slightly different, so read the owner's manual before using a new appliance.
- Motor Base — Contains the motor that powers the blades.
- Pitcher or Jar — Holds the ingredients while blending.
- Lid — Prevents ingredients from splashing during blending.
- Center Cap — Allows small ingredients to be added while blending if your blender includes one.
- Blade Assembly — Sharp blades that chop and blend food.
- Speed Controls — Low, High, Pulse, or preset programs depending on the blender model.
Take a few practice minutes letting kids assemble the blender, lock the pitcher into place, and identify each button before adding ingredients. Becoming familiar with the appliance helps prevent mistakes later.
How to Use a Blender Step by Step
Once children understand the safety rules and know the different parts of the blender, they're ready to begin making simple recipes. Start with easy ingredients like yogurt, milk, bananas, or berries before moving on to thicker mixtures or frozen foods.
Adult Tip
Stay beside younger children during the first several lessons. As they gain confidence and consistently follow safety rules, you can gradually allow them to complete more of the process independently while you supervise nearby.
Step 1: Gather Your Ingredients
Read the recipe together and measure everything before plugging in the blender. Having all the ingredients ready makes blending faster and helps children stay organized.
Step 2: Add Ingredients in the Right Order
For most smoothies and blended drinks, liquids should go into the pitcher first, followed by soft fruits or yogurt, then frozen ingredients and ice on top. This helps the blades move freely and creates a smoother blend.
- Liquids (milk, juice, or water)
- Yogurt or soft ingredients
- Fresh fruit
- Frozen fruit or ice
Step 3: Secure the Lid
Before turning on the blender, check that the pitcher is locked onto the base and the lid is completely secure. Hold the lid with one hand when starting the blender, especially if you're blending thick mixtures.
Step 4: Start Slowly
Always begin on the lowest speed. Once the ingredients begin moving, increase the speed if needed. Using the Pulse button for a few short bursts can also help break up larger pieces before blending continuously.
Step 5: Blend Until Smooth
Watch the mixture through the pitcher. Kids will quickly learn that different recipes need different blending times. Smoothies may only take 30 to 60 seconds, while soups or sauces may need a little longer.
Step 6: Turn Off Before Opening
Always wait until the blades have completely stopped spinning before removing the lid. Never place fingers, spoons, or spatulas inside while the blender is running or plugged in.
Step 7: Pour Carefully
Use both hands when pouring heavier mixtures. Younger children may find it easier to have an adult steady the pitcher while they pour.
Fun Blender Practice Activities
The best way for kids to become comfortable using a blender is through simple, hands-on activities. These ideas help children learn how different ingredients blend while building confidence with the appliance.
What Can Kids Blend?
Things You Should Never Put in a Blender
- Hot liquids without adult supervision.
- Utensils or other non-food items.
- Food still wrapped in packaging.
- Large frozen blocks that can damage the blades.
- Very hard items your blender isn't designed to process.
Easy Blender Recipes Kids Can Make
One of the best ways for children to become comfortable using a blender is by making simple, delicious recipes they can enjoy right away. Begin with recipes that have only a few ingredients, then gradually introduce thicker smoothies, homemade dips, soups, and frozen desserts as their confidence grows.
Encourage kids to read the recipe first, measure ingredients carefully, and predict how the finished recipe will taste before blending. These simple habits build valuable cooking skills while making kitchen time more fun.
Morning Mango Smoothie
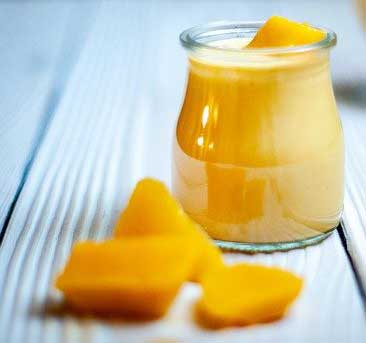
Ingredients
- 1 ripe mango, peeled and sliced
- 2 cups frozen strawberries
- 1 cup milk
- 1 (6 oz.) peach yogurt
- Additional milk if needed
Directions
- Add the milk to the blender first.
- Add the yogurt and fruit.
- Blend on Low for a few seconds, then increase to High.
- Blend until smooth and creamy.
- Add a little more milk if you prefer a thinner smoothie.
- Pour into glasses and enjoy immediately.
Banana Breakfast Smoothie
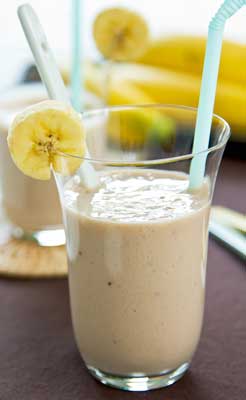
Ingredients
- 1 banana
- 2 tablespoons orange juice concentrate
- 1-2 teaspoons maple syrup (optional)
- 4-5 ice cubes
Directions
- Add all ingredients to the blender.
- Blend until smooth.
- Taste and add a little more maple syrup if desired.
- Serve immediately.
Kid Tip: Try adding a handful of frozen strawberries or blueberries for a different flavor.
Strawberry Oat Breakfast Smoothie
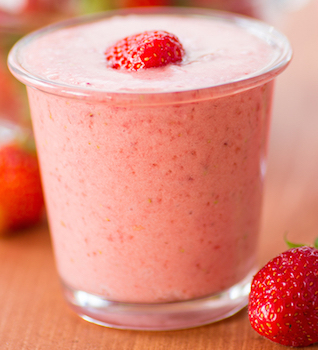
Ingredients
- 1 cup milk
- 1/2 cup old-fashioned oats
- 1 banana
- 5-6 strawberries
- 1 teaspoon honey (optional)
Directions
- Pour the milk into the blender.
- Add the oats and let them soak for about 2 minutes.
- Add the fruit and honey.
- Blend until completely smooth.
- Serve chilled.
Ways Kids Can Customize Their Smoothies
- Add spinach for a green smoothie.
- Use frozen fruit for a thicker texture.
- Swap yogurt flavors to create new combinations.
- Mix two different fruits together.
- Add peanut butter or sunflower butter for extra protein.
- Sprinkle in cinnamon or vanilla for extra flavor.
Once children become comfortable making smoothies, they're ready to branch out into homemade salsa, creamy soups, fruit sauces, dips, pancake batter, and many other blender recipes. Each new recipe helps build confidence while reinforcing safe appliance habits.
Cleaning and Caring for a Blender
Learning to clean and care for a blender is just as important as learning to use it. Cleaning up after cooking teaches responsibility, keeps the appliance working properly, and helps children develop good kitchen habits they'll use for years.
Always unplug the blender before taking it apart or cleaning any of the removable pieces. Never place fingers inside the pitcher while it is plugged in.
The Quick Cleaning Method
For many smoothies and drinks, the blender can clean itself in less than a minute.
- Unplug the blender after pouring the recipe.
- Fill the pitcher about halfway with warm water.
- Add one small drop of dish soap.
- Secure the lid tightly.
- Plug the blender back in and blend on Low or Pulse for 20 seconds.
- Unplug the blender again.
- Pour out the soapy water and rinse thoroughly with clean water.
- Allow all parts to air dry before putting the blender away.
Deep Cleaning the Blender
Sometimes thicker recipes like peanut butter smoothies, pancake batter, or creamy soups leave extra residue behind. In those cases, the blender will need a more thorough cleaning.
- Remove the pitcher from the motor base.
- Take apart removable pieces according to the manufacturer's instructions.
- Wash the pitcher, lid, and removable parts with warm soapy water.
- Use a bottle brush or sponge with a handle to clean around the blades if necessary.
- Dry completely before reassembling.
Safety Reminder
Blender blades stay sharp even when the appliance is turned off. Never grab the blades with your fingers. If food becomes stuck underneath them, ask an adult for help removing it safely.
Taking Care of Your Blender
A well-cared-for blender can last for many years. Encourage children to treat kitchen appliances with care by following these simple habits.
Common Blender Mistakes (and How to Fix Them)
Everyone makes mistakes while learning a new kitchen skill. The good news is that most blender problems have easy solutions. Teaching children how to troubleshoot helps build confidence and encourages problem-solving.
| Problem | Easy Solution |
|---|---|
| Smoothie is too thick. | Add a little more milk, juice, or water and blend again. |
| Ingredients won't blend. | Stop the blender, unplug it, and use a spatula to gently move ingredients before blending again. |
| Mixture is too thin. | Add frozen fruit, yogurt, oats, or ice to thicken it. |
| Large fruit pieces remain. | Blend a little longer or cut ingredients into smaller pieces next time. |
| Blender shakes while running. | Make sure the pitcher is locked into place and sitting on a flat surface. |
| Ingredients leak from the top. | Stop blending and make sure the lid is completely secured before restarting. |
| Blender smells hot. | Turn the blender off immediately and unplug it. Let the motor cool for 15–30 minutes before using it again. If it continues to overheat, ask an adult to check the appliance. |
| The lid pops off while blending. | Stop the blender immediately. Clean up any spills, make sure the lid is locked securely, and avoid overfilling the pitcher before blending again. |
Remember
Mistakes are part of learning! Every smoothie, soup, salsa, or milkshake helps children become more comfortable using kitchen appliances safely and independently.
Kitchen Skills Kids Learn by Using a Blender
Using a blender teaches much more than making smoothies. Every recipe helps children practice important cooking and life skills that they'll use throughout their lives.
To start they will build confidence preparing healthy snacks with less assistance.
Mastering the blender gives children the confidence to move on to other kitchen appliances and more advanced cooking techniques. Each new skill makes them more independent, capable, and excited to cook.
Continue Building Kitchen Skills
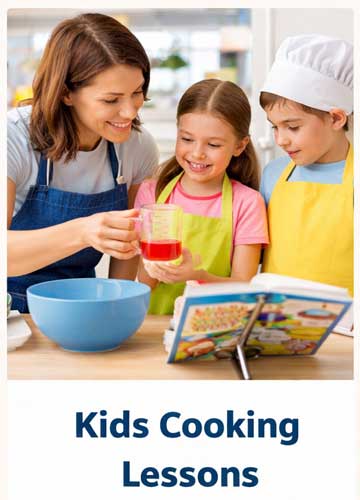
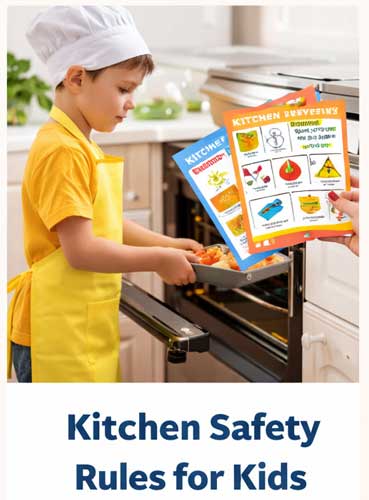
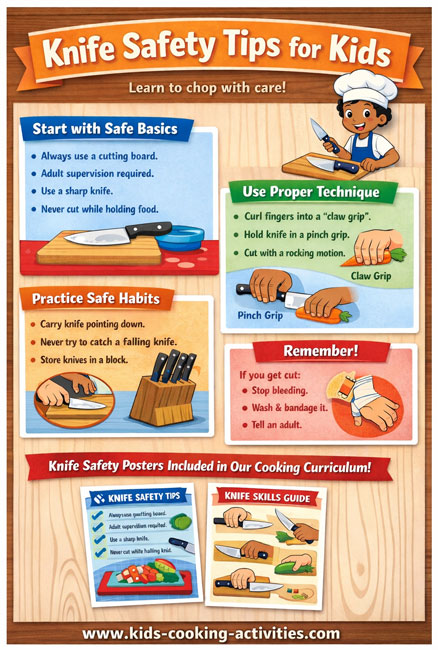
Learning to use a blender is just one step toward becoming a confident young cook. As children become comfortable using one appliance safely, they can gradually learn other kitchen skills that help them prepare complete meals and snacks with greater independence.
Kitchen Skills by Age
Every child develops at a different pace, but these general guidelines can help parents decide when children are ready for greater independence with a blender.
Frequently Asked Questions
At what age can kids start using a blender?
Many children can begin helping with a blender around ages 5–7 by adding ingredients, measuring food, and pressing buttons with close adult supervision. As children demonstrate safe habits and responsibility, they can gradually take on more of the blending process while an adult remains nearby.
Is a blender safe for children?
Yes. A blender can be a safe appliance for children when they are taught proper kitchen safety rules, shown how the appliance works, and supervised appropriately. Kids should always understand that blender blades are extremely sharp and should never reach inside the pitcher while it is plugged in.
What's the easiest blender recipe for beginners?
Simple fruit smoothies made with bananas, berries, yogurt, and milk are excellent first recipes. They require only a few ingredients, blend quickly, and help children practice measuring, following directions, and safely operating the blender.
Should children use ice in a blender?
Yes, if the blender is designed to crush ice and an adult is supervising. Younger children should start with softer ingredients before blending larger amounts of ice or frozen fruit, which require a more powerful motor.
How do kids safely clean a blender?
The easiest method is to fill the pitcher halfway with warm water, add one drop of dish soap, and blend for about 20 seconds. After unplugging the blender, rinse it thoroughly and let an adult help if additional cleaning around the blades is needed.
What foods should children avoid blending?
Children should avoid blending very hot liquids without adult supervision, large frozen blocks, non-food items, or foods that the blender manufacturer recommends against processing. Always follow the instructions for your specific blender model.
What skills do kids learn from using a blender?
Using a blender helps children practice measuring ingredients, following recipes, making healthy food choices, operating kitchen appliances safely, solving simple cooking problems, and cleaning up after themselves. These are valuable kitchen and life skills that build confidence.
What's the next appliance kids should learn to use?
After mastering the blender, many families introduce a hand mixer, toaster oven, electric griddle, or slow cooker. Each new appliance should be taught one at a time with age-appropriate recipes and adult supervision until children consistently demonstrate safe kitchen habits.
Cooking with Appliances Hub Air Fryer Blender Bread Machine Slow Cooker Instant Pot Microwave Toaster Oven Waffle Iron
Continue Learning Kitchen Skills
Ready to master another cooking skill? Explore more beginner-friendly cooking lessons, appliance guides, and easy recipes designed to help kids become safe and confident cooks.
Get Free Kids Recipe Cards + Cooking Printables
Join Kids Cooking Activities for fun recipes, cooking ideas, and printable resources for kids, families, and classrooms.
Follow Kids Cooking Activities too:





© Debbie Madson, Madson Web Publishing, LLC — All rights reserved.
The material on this site is for educational purposes only.