
- Home ›
- Cooking with Appliances ›
- Teaching Kids to Use a Bread Machine
Teaching Kids to Use a Bread Machine
A bread machine is a helpful appliance for teaching kids how bread ingredients work together. Children can measure ingredients, choose settings, watch the machine mix and knead dough, and learn how homemade bread is made with less hands-on kneading.

Teaching kids to use a bread machine is a great way to introduce bread baking through the appliance cluster. The machine handles much of the mixing and kneading, while kids still practice measuring, sequencing, reading recipes, choosing settings, and understanding how yeast helps dough rise.
Every bread machine is a little different, so always read your own manual first. This page focuses on the teaching process, safety tips, beginner bread machine recipes, and fun dough projects kids can make once they understand the basic steps.
Start Here: Bread Machine Lessons for Kids
- First time using a bread machine → Begin with the watch, help, supervise, independence learning process.
- Learning appliance safety → Review bread machine safety tips before turning on the machine.
- Understanding machine settings → Learn the difference between the basic bread, dough, bake, and specialty settings.
- First dough project → Try bread machine cinnamon rolls or homemade bagels.
- Want more bread recipes? → Explore Easy Bread Recipes and our Homemade Bread Tutorial.
Kids Cooking Activities Teaching Materials
Teaching kids to cook? Save time with ready-made lesson plans used by parents and teachers. Browse teaching materials →


This page may contain affiliate links. We may earn a small commission at no extra cost to you. Learn more.
On This Page
Bread Machine Learning Process
When teaching kids to use a bread machine, move slowly from observation to independence. A bread machine is easier than kneading bread completely by hand, but it is still an appliance with buttons, a hot pan, a kneading paddle, steam, and timing steps that children need to understand.
This four-step learning process helps kids build confidence while giving adults a clear way to decide when a child is ready for more responsibility.
1. Watch
First, let your child watch you use the bread machine from start to finish. Explain how you measure ingredients, add them to the pan, choose the setting, start the machine, and remove the finished bread safely.
2. Help
Next, allow your child to guide you through the steps. They can read the recipe, gather ingredients, remind you what comes next, and begin helping with safe jobs such as measuring flour or adding yeast.
3. Supervise
Once they understand the process, let your child do more of the work while you stay nearby. Step in for safety, hot surfaces, the electrical cord, removing the bread pan, and any confusing machine settings.
4. Independence
Older kids and teens may eventually prepare simple bread machine recipes on their own after they have shown they can measure accurately, follow directions, choose the correct setting, and handle cleanup responsibly.
Teaching Tip
The goal is not just to press buttons. Kids should understand what each step does: measuring feeds the recipe, yeast helps dough rise, the machine kneads the dough, and heat transforms it into bread.
Bread Machine Safety for Kids
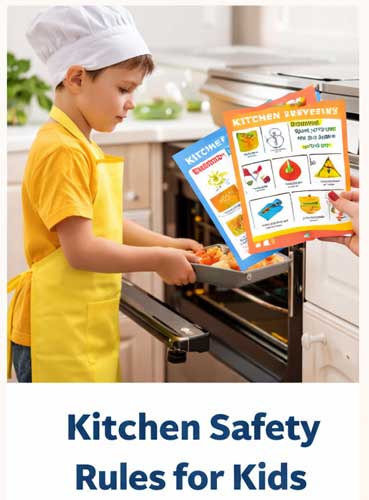
A bread machine is a useful kitchen appliance, but kids still need clear safety rules before they begin. The pan gets hot, steam can escape, and the kneading paddle moves during the mixing cycle. Review these safety reminders before each bread machine lesson.
Hot Pan Safety
The bread pan and baked loaf will be very hot after baking. Adults should remove the pan from the machine, or older kids should use oven mitts with close supervision.
Kneading Paddle
Never place hands or utensils inside the bread machine while it is mixing or kneading. Wait until the machine is off and unplugged before touching the pan or paddle.
Steam & Heat
Open the lid carefully after baking because hot steam may escape. Keep faces and hands away from the opening when checking the bread.
Electric Cord Safety
Place the machine on a sturdy counter away from the edge. Keep the cord tucked safely behind the appliance so it cannot be pulled or tripped over.
Adult Jobs
- Plugging in or unplugging the machine for younger kids.
- Removing the hot bread pan.
- Handling stuck paddles.
- Checking the bread near the end of baking.
- Cleaning the machine after it has completely cooled.
Appliance Reminder
Always follow the instruction manual for your specific bread machine. Different models may have different settings, pan sizes, safety features, and cleaning instructions.
Understanding Bread Machine Settings
Although every bread machine is a little different, most models include several basic settings that are easy for kids to learn. Understanding what each setting does helps young bakers choose the right program for each recipe and builds confidence when using kitchen appliances.
Basic Bread
This is the setting most beginners should use. It mixes, kneads, allows the dough to rise, and bakes a classic loaf of white bread from start to finish.
Dough Cycle
The dough cycle mixes and kneads the ingredients, then lets the dough rise without baking it. It's perfect for making pizza dough, cinnamon rolls, dinner rolls, bagels, pretzels, and other breads you want to shape by hand.
Whole Wheat
Whole wheat dough usually needs a longer kneading and rising time because whole grain flour absorbs more liquid and develops gluten differently than white flour.
Quick Bread
Quick bread settings are designed for recipes that use baking powder or baking soda instead of yeast, such as banana bread, pumpkin bread, or zucchini bread.
Crust Color
Many bread machines let you choose a light, medium, or dark crust. Kids can compare the finished loaves to see how baking time affects color and texture.
Loaf Size
Choose the loaf size that matches your recipe, usually 1, 1 1/2, or 2 pounds. Selecting the correct size helps the bread bake evenly.
Kid Challenge
Before starting the machine, ask your child to predict which setting the recipe will need. Is it a loaf of bread, a batch of pizza dough, or a quick bread? Learning to choose the correct setting helps kids understand how different baked goods are made.
Good to Know
The names of settings may vary from one bread machine to another. Always check your machine's instruction manual to find the program that best matches your recipe.
Choosing a Bread Machine for Your Family
A bread machine can be a helpful appliance for families who want to make homemade bread with less kneading by hand. When choosing one, look for a machine with simple controls, a dough cycle, loaf-size options, and a removable pan for easy cleanup. Most basic machines can make delicious homemade bread, pizza dough, cinnamon rolls, and many other recipes. Instead of focusing on brands, look for features that are easy for children to understand and use safely.
Easy Controls
Choose a machine with clearly labeled buttons and a simple display. Kids will have an easier time selecting the correct cycle and following along with each step.
Dough Cycle
A dough-only setting is one of the most useful features. It prepares dough for homemade rolls, pizza, pretzels, bagels, cinnamon rolls, and many other baked treats that finish baking in your oven.
Loaf Size Options
Many bread machines can bake 1-, 1 1/2-, or 2-pound loaves. A larger machine gives your family more flexibility as children become more confident bakers.
Easy Cleanup
A removable non-stick bread pan and kneading paddle make cleanup much easier. Always allow the machine to cool completely before washing the parts.
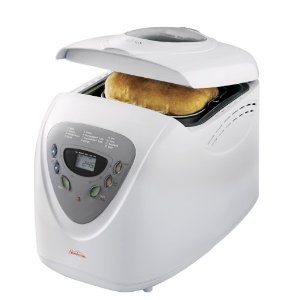
Beginner Bread Machine
An easy-to-use bread machine is perfect for learning the basics of homemade bread. Kids can measure ingredients, choose a setting, and watch the entire bread-making process.
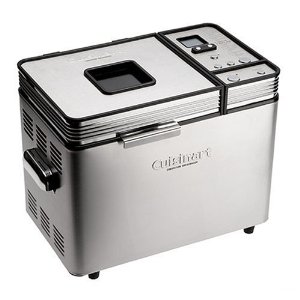
Larger Family Machine
Larger machines often bake multiple loaf sizes and include extra programs for dough, whole wheat bread, quick breads, jams, and more.
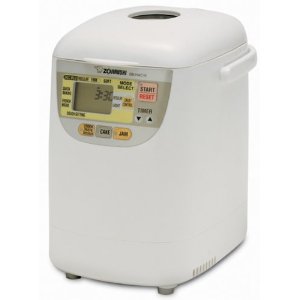
Compact Bread Machine
Compact bread machines fit smaller kitchens while still providing dough and bread cycles that are great for teaching young bakers.
Features to Look For
- A dough-only cycle for pizza dough, rolls, bagels, pretzels, and cinnamon rolls.
- Clear buttons and simple settings kids can understand.
- Removable pan and paddle for easier cleanup.
- Loaf-size options that match your family's needs.
Our Recommendation
If your bread machine includes a dough cycle, you'll be able to make far more than sandwich bread. Use it to prepare dough for dinner rolls, pizza, bagels, pretzels, stuffed breads, monkey bread, and many other homemade baking projects.
Build Skills Gradually
A bread machine is an excellent teaching tool because it automates the mixing and kneading while kids practice measuring ingredients, following recipes, and understanding how yeast works. As confidence grows, encourage children to move from bread machine recipes to making bread completely by hand.
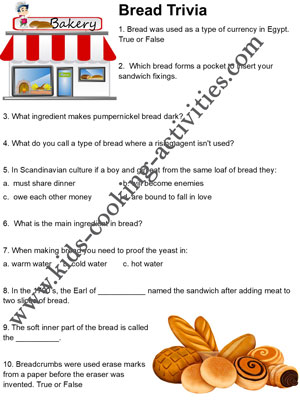
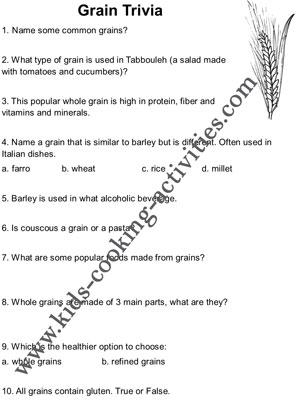
What Kids Can Make with a Bread Machine
Most people think bread machines can only bake sandwich bread, but they're much more versatile. Many recipes use the dough cycle, which mixes, kneads, and gives the dough its first rise before you shape it by hand and bake it in the oven. This allows kids to enjoy both the convenience of the machine and the creativity of traditional baking.
Once children become comfortable measuring ingredients and choosing the correct machine settings, they can use a bread machine to prepare dough for many family favorites.
Classic Bread
Bake everyday white bread, whole wheat bread, Italian herb bread, raisin bread, or other specialty loaves with very little hands-on work.
Rolls & Buns
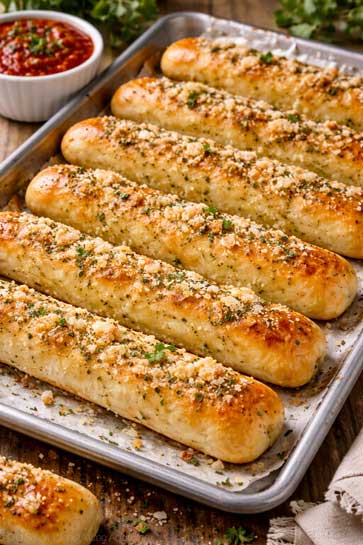
Prepare dough for dinner rolls, hamburger buns, hot dog buns, breadsticks, and soft pretzels.
Pizza & Pasta
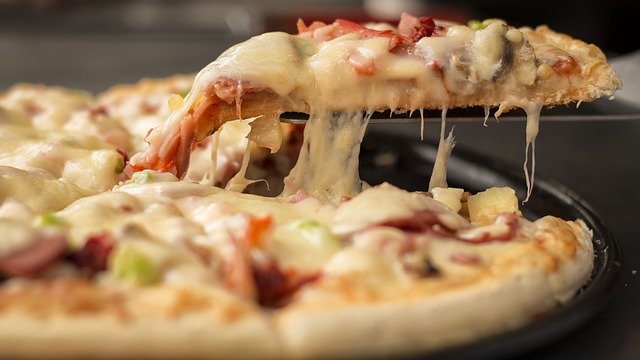
Use the dough cycle to make homemade pizza dough, stromboli, pizza rolls, and even fresh pasta dough on some bread machines.
Sweet Treats
Mix dough for cinnamon rolls, sticky buns, monkey bread, fruit-filled rolls, and other homemade bakery favorites.
Challenge Yourself
After you've mastered basic bread, try using the dough cycle to make bagels, soft pretzels, decorative shaped breads, pizza rolls, or homemade dinner rolls. The bread machine does the mixing while you practice shaping and baking by hand.
Best Setting for Beginners
The Dough setting is often the most useful program for kids. It teaches measuring, yeast, and dough development while still allowing children to shape their own creations before baking.
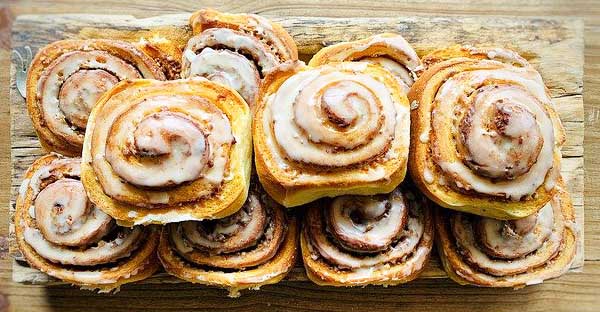
Bread Machine Cinnamon Rolls
One of the best ways to use a bread machine is by making cinnamon roll dough. The machine does all the mixing, kneading, and first rise, leaving kids to enjoy the fun part-rolling, filling, slicing, and frosting the rolls.


Ingredients
- 1/4 cup warm water
- 1/2 cup melted butter
- 1 cup warm milk
- 1 egg, room temperature
- 1/2 cup instant vanilla pudding mix
- 1/2 teaspoon salt
- 4 cups all-purpose flour
- 2 1/2 teaspoons active dry yeast
For the Filling
- Melted butter
- Brown sugar
- Ground cinnamon
- Raisins (optional)
Directions
- Add all dough ingredients to the bread machine pan in the order recommended by your machine's manufacturer.
- Select the Dough cycle and allow it to complete.
- Turn the dough onto a lightly floured surface and roll it into a large rectangle.
- Brush the dough with melted butter.
- Sprinkle generously with brown sugar and cinnamon. Add raisins if desired.
- Roll the dough tightly into a log, beginning with the long side.
- Slice into evenly sized rolls and place them into a greased 9 x 13-inch baking dish.
- Cover and let the rolls rise for 30- 60 minutes, or refrigerate overnight for baking the next morning.
- Bake at 350 F for 20-25 minutes until lightly golden.
- Cool slightly before drizzling with cream cheese frosting or vanilla icing.
Kid Tip
Young bakers love choosing their own fillings. Try chopped pecans, walnuts, dried cranberries, mini chocolate chips, or orange zest for delicious variations.
Bread Machine Bagels
The bread machine makes preparing homemade bagel dough easy by handling all of the mixing and kneading. Kids can then practice shaping, boiling, and topping the bagels before baking them into chewy, bakery-style treats.

Ingredients
- 1 1/4 cups water
- 2 tablespoons honey
- 1 teaspoon salt
- 4 cups bread flour
- 1 3/4 teaspoons active dry yeast
- 1 tablespoon sugar (for boiling water)
Optional Toppings
- Sesame seeds
- Poppy seeds
- Everything bagel seasoning
- Dried minced onion
- Garlic flakes
- Coarse kosher salt
- Shredded cheese
Directions
- Add the water, honey, salt, bread flour, and yeast to the bread machine pan in the order recommended by your manufacturer.
- Select the Dough cycle and allow it to finish completely.
- Transfer the dough to a lightly floured surface and let it rest for 10 minutes.
- Divide the dough into 9 equal pieces.
- Roll each piece into a smooth ball, then poke your thumb through the center and gently stretch it into a bagel shape.
- Place the shaped bagels on a lightly greased baking sheet and cover. Let them rise for about 20 minutes.
- Bring a large pot of water to a gentle boil and stir in the tablespoon of sugar.
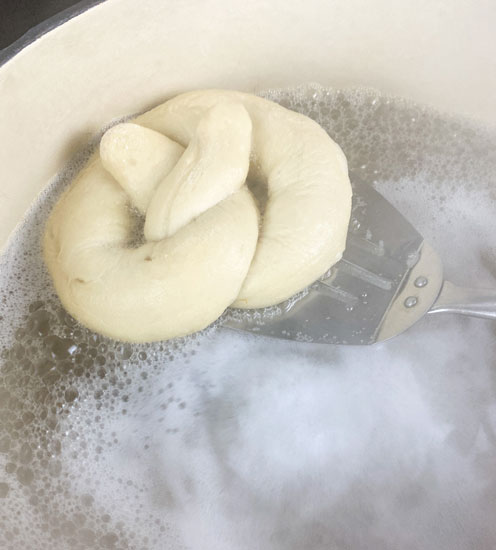
- Boil each bagel for about 20 seconds per side, then remove with a slotted spoon.
- Immediately dip the tops into your favorite toppings, if using.
- Return the bagels to the baking sheet and bake at 400 F for about 15 minutes, or until golden brown.
- Cool slightly before slicing and serving.
Favorite Bagel Flavors
- Everything Bagel
- Cinnamon Raisin
- Sesame Seed
- Cheddar Cheese
- Garlic & Herb
- Cinnamon Sugar
Why Are Bagels Boiled?
Boiling the dough before baking gives bagels their chewy texture and shiny crust. It's a fun food science experiment that lets kids see how one extra step changes the finished bread.
More Bread Machine Ideas
A bread machine can prepare much more than sandwich bread. The dough cycle makes it easy to create a wide variety of homemade baked goods while kids practice measuring ingredients, following recipes, and learning how different doughs behave.

Let the machine knead the dough, then shape soft homemade rolls perfect for family dinners and holidays.



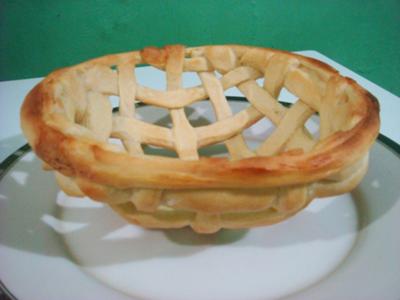
Weave strips of bread dough together to create a decorative bread basket that's perfect for holidays and special occasions.
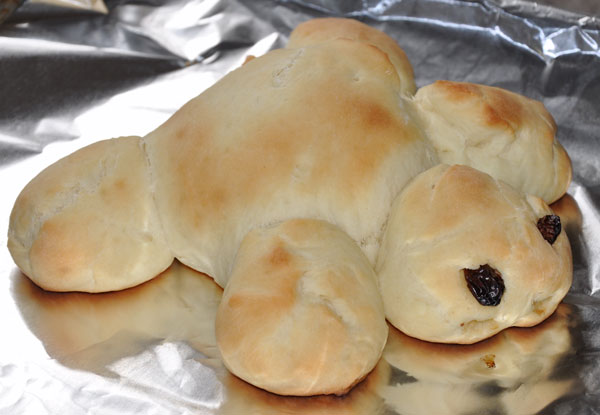
Turn simple bread dough into an adorable turtle-shaped loaf while practicing rolling, shaping, and assembling decorative bread pieces.
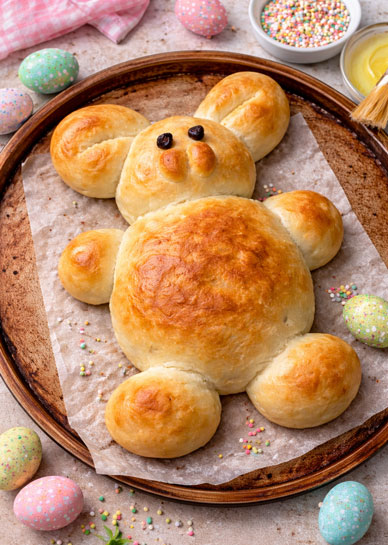
Create a festive bunny-shaped loaf that's perfect for Easter, spring celebrations, or practicing creative bread shaping techniques.

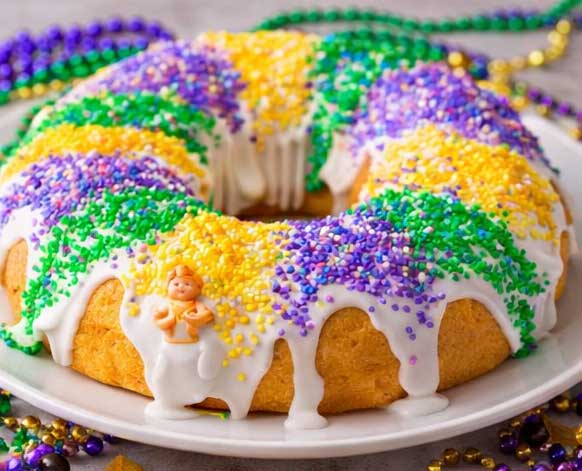
Try the Dough Cycle
Many experienced bread machine users say the dough cycle is their favorite feature. It saves time mixing and kneading while still allowing you to shape breads by hand and bake them in your own oven.
Continue Learning Bread Baking & Kitchen Skills
Once you've mastered your bread machine, continue building your baking confidence with homemade bread tutorials, dough projects, baking activities, and food science lessons. These resources help kids progress from using a bread machine to making bread completely by hand.

Learn to proof yeast, knead dough, shape loaves, make rolls, bread bowls, monkey bread, and much more by hand.

Explore dozens of homemade breads including quick breads, yeast breads, rolls, breadsticks, specialty loaves, and seasonal favorites.

Expand your baking skills with muffins, cookies, cakes, brownies, pies, breads, and fun family baking projects.
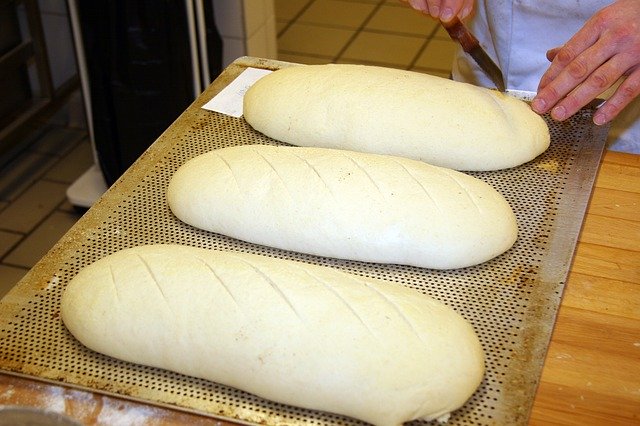
Discover the science behind yeast, kneading, and rising while practicing bread baking as part of the Junior Chef curriculum.

Learn about fermentation, gluten, yeast, and other fascinating kitchen science concepts through hands-on activities.

Continue practicing breads, rolls, pizza dough, pretzels, cinnamon rolls, and other favorite dough projects with printable lessons and recipes.
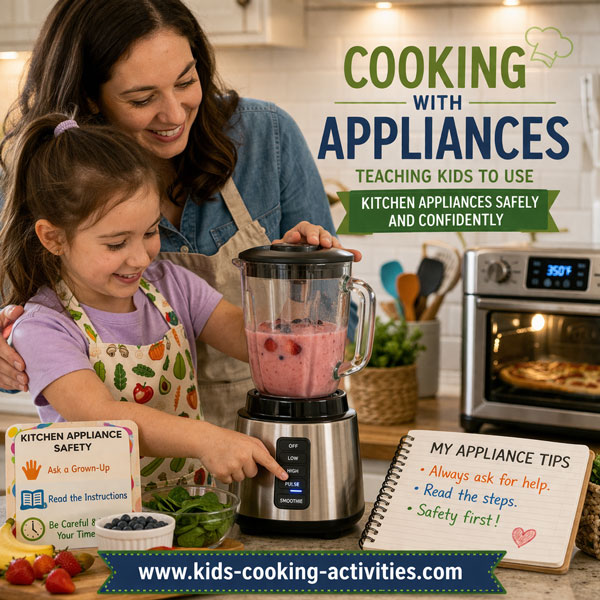
Compare kitchen appliances and choose the next lesson as children continue developing new cooking skills.


Frequently Asked Questions
What age can kids use a bread machine?
Elementary-age kids can usually help measure ingredients and choose settings with adult supervision. Older kids and teens may be able to use a bread machine more independently once they understand appliance safety, recipe order, hot surfaces, and cleanup.
Is a bread machine good for teaching kids to bake?
Yes. A bread machine is a helpful teaching tool because kids can practice measuring, reading recipes, using yeast, choosing settings, and observing dough as it mixes, kneads, rises, and bakes.
What can kids make in a bread machine?
Kids can make sandwich bread, whole wheat bread, cinnamon roll dough, pizza dough, bagel dough, dinner roll dough, pretzel dough, specialty breads, and some quick breads, depending on the machine settings.
What order do ingredients go into a bread machine?
Ingredient order depends on the bread machine model. Many machines use liquids first, then dry ingredients, with yeast added last, but always follow the instruction manual for your specific machine.
Can a bread machine make dough only?
Most bread machines have a dough cycle that mixes, kneads, and allows the dough to rise without baking it. This setting is ideal for pizza dough, cinnamon rolls, bagels, pretzels, dinner rolls, and shaped breads.
Is a bread machine safer than kneading bread by hand?
A bread machine reduces some hands-on kneading, but it is still an appliance and requires supervision. Adults should help with the cord, settings, hot pan, steam, and removing the finished bread.
What should adults handle when kids use a bread machine?
Adults should supervise plugging in the machine, checking settings, removing the hot pan, handling steam, removing stuck paddles, and cleaning the appliance after it has cooled.
Should kids learn to make bread by hand too?
Yes. A bread machine is a great introduction, but making bread by hand helps kids understand kneading, dough texture, shaping, and rising more deeply. Once they are comfortable, try a homemade bread lesson without the machine.
Cooking with Appliances Hub Air Fryer Blender Bread Machine Slow Cooker Instant Pot Microwave Toaster Oven Waffle Iron
Explore More Appliance & Bread Baking Lessons
Keep building kitchen confidence with more appliance lessons, bread recipes, baking tutorials, and hands-on cooking activities for kids.
Get Free Kids Recipe Cards + Cooking Printables
Join Kids Cooking Activities for fun recipes, cooking ideas, and printable resources for kids, families, and classrooms.
Follow Kids Cooking Activities too:





© Debbie Madson, Madson Web Publishing, LLC — All rights reserved.
The material on this site is for educational purposes only.