
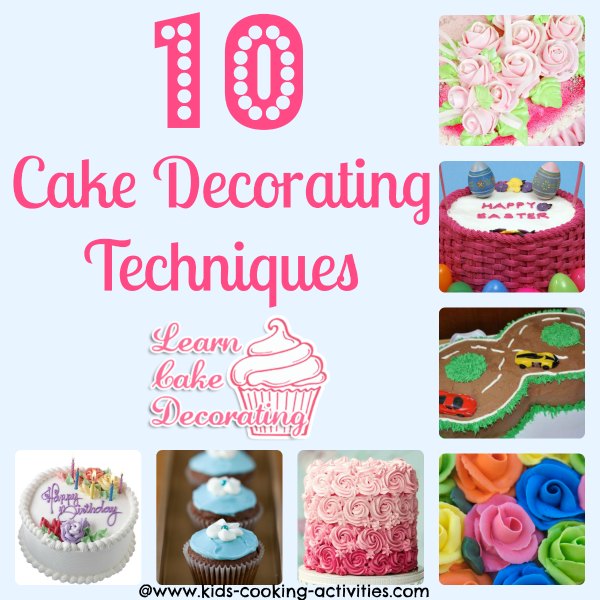
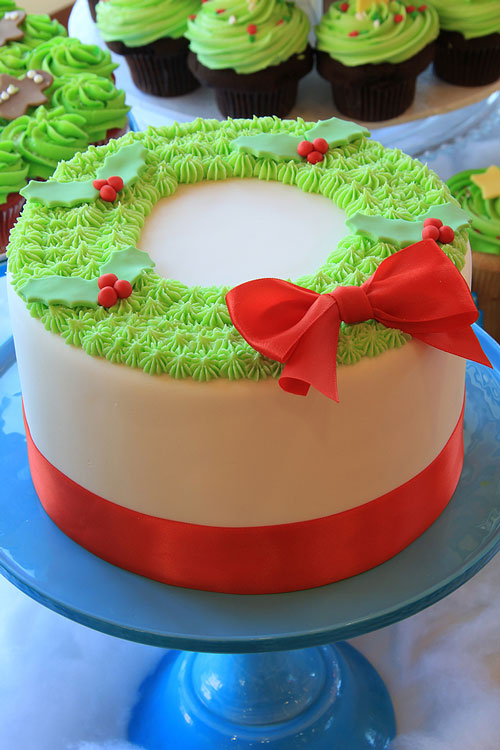
10 Cake Decorating Techniques
Learning cake decorating techniques can take practice. The more you practice and become familiar with the different piping techniques, the easier it will get. We've included some basic piping ideas and videos to help you learn.
Basic Decorating Techniques
There are several basic techniques that will allow you to start piping cakes like a pro.Each section contains an instructional video along with written instructions. A list of supplies needed is also included.
Watch the videos online as much as you need to and don't forget to practice, practice, practice! Create a batch of practice Icing (recipe below) and get to work!
10 Cake Decorating Techniques located on this page:
Shells
Stars
Grass and Hair Technique
Basketweave
Drop Flowers
Roses
Leaves
Writing on a Cake
Rope Border
Frosting Ruffles
Practice Icing Recipe
Use this recipe when you need to practice your piping techniques. You can make up a batch of this icing and keep it around for a while since it does not contain any perishable ingredients. It doesn't taste very good, but it's great to have around
when you need it for practicing instructions.
- 1 cup solid shortening (Crisco)
- 4 cups powdered sugar
- enough water to reach a medium icing consistency.
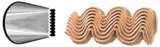
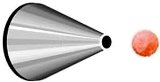
Piping Shells
Shell Borders are a technique used in cake decorating to border your cake. It goes along the bottom edge of the cake and even along the top edge of the cake. Some cake decorators, including myself, use this border for the bottom edge. Then, typically use a reverse shell or rope border along the top edge. This is an easy technique to learn and you will use it a lot.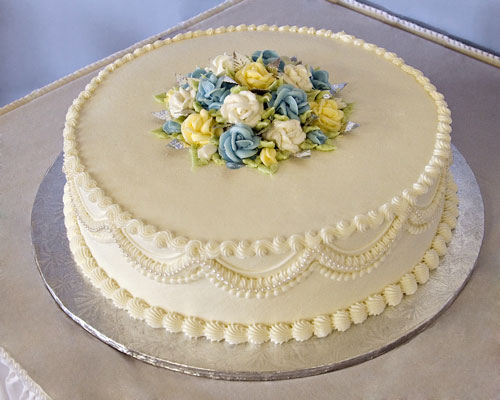
Piping Supplies Needed
- Pastry Bag
- Coupler
- Frosting
- Star Tip #21
Making a Border with Piping Shells

- Hold your bag at a 45 degree angle.
- Squeeze the bag, allowing the icing to fan out.
- Lift your bag up and away from you then immediately pull the
bag towards you as you let off pressure.
- Stop squeezing and pull the bag away.
- Form the next shell on the "tail" or end of the last.
- Continue until the edge of your cake is bordered.
Piping Cake Decorating Stars
Piping stars and the fill-in method are usually used to decorate character shaped pans. It is one of the easiest cake techniques to learn. The fill in method is when you pipe several stars close together to ice your cake.
You can use a tip #16-21. Remember, the smaller the number, the
smaller they will be. If you are icing a large area, a larger tip
will work better.
I have included a cake decorating video to help you learn this
simple cake technique. A list of supplies and written instructions
are also included below the video.
- Pastry Bag
- Coupler
- Frosting
- Tip #21
- Hold the bag at a 90 degree angle, straight up and down.
- Squeeze until the star is formed.
- Stop squeezing and pull tip away.
- It is important to stop squeezing before pulling your tip away. If not, you will get a peak on the top.
- Pipe close together to fill in an area.
- Be sure there are no holes between each star. This can cause air to get into your cake and dry it out.
Tip 233- Grass and Hair Cake Decorating Technique
Cake tip 233 is used to make grass and hair on a cake. This is a very simple piping technique that can be used on character shaped cakes as well as any size cake. It is perfect for making a furry teddy bear or puppy. It's also great to fill in areas on themed cakes such as fishing, football, or gardening cakes with areas of grass.I have included a cake instruction video to help you learn this simple cake technique. A list of supplies and written instructions are also included below the video.
Supplies
- Pastry Bag
- Coupler
- Frosting
- #233
Instructions
- Hold the pastry bag at a 90 degree angle slightly above the
surface of the cake
- Squeeze and immediately lift the bag straight up and stop
squeezing
- Pipe close together or in a cluster to form the grass or hair
look
- If you want your hair or grass to be longer, simply continue to squeeze the bag longer before stopping and pulling away.<
Basketweave
The Basketweave method is great for the sides of a cake or creating designs on top of the cake. It takes a little practice and time but the effect looks great and it isn't as hard as it looks.For this design you use one of the tip #'s 44-47. The tip has two sides, a rough side and a smooth side. One side does the basket weave and the other side of the tip makes a plain stripe. You can use either side of the tip depending on the look you want for your basket weave.
Supplies Needed
- Tip #'s 44-47
- Pastry Bag
- Frosting
- Coupler
- First you will do your stripe up and down, vertically.
- Pipe stripes horizontal making sure you start to the left of your vertical stripe (from step 1)
- Make 3 or 4 horizontal stripes depending on the width your cake is. Make your stripes about 1-2 inches long.
- Pipe a vertical line covering the ends of your horizontal
line.
- Continue overlapping layers. Vertical stripe than horizontal stripes.
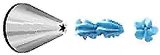
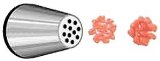
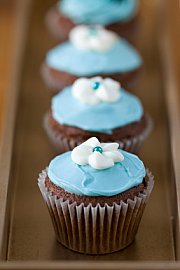
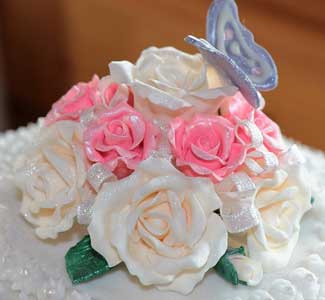
Cake Decorating Drop Flowers
When cake decorating flowers you will use tip 2D, 2C, 129, 224 or 255 to make swirl or star flowers on this page. These flowers are quite easy to make and are finished off with a small dot in the middle usually with a different color frosting. We'll show you the method below.Supplies Needed
- Tip
2D, 2C, 129, 224 or 255
- Tip 3 (for the dot in the middle)
- Pastry Bag
- Coupler
- Icing
Drop Flowers Instructions
- Hold your pastry bag right above, 90 degrees, the spot you want your flower to go.
- Squeeze out a star using tip 2D or another suggested tip above.
- Stop squeezing and lift up.

- That's all to your star flower.
- Add a dot right in the middle with tip 3.
- You can make a slightly different flower called a swirl flower by twisting your wrist when you are making a star flower. This is the type of flower made in the video above and in the picture to the right.
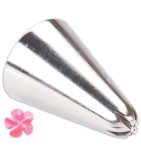
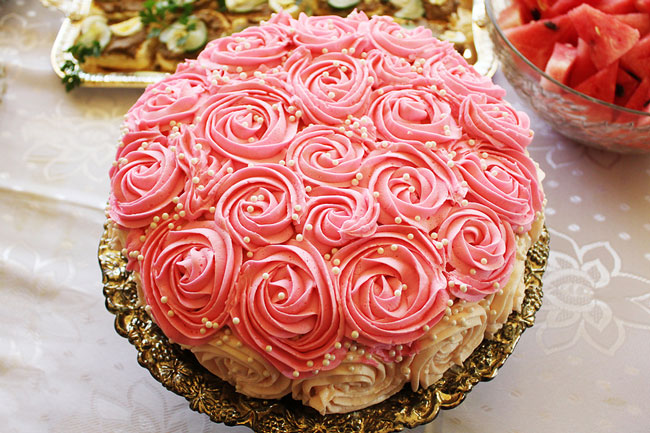
Piping Cake Decorating Roses
Everyone loves roses on cakes. They look so fancy and beautiful. However, they can look very intimidating to new cake decorators. Here is a helpful video tutorial on making roses and step by step directions. Then all you need to do is practice and practice some more!If you'd like a more simple frosting rose try making rosettes. They are really very easy to create and look nice. This technique is often used as a border, to decorate cupcakes or even add small delicate details to your cake.
How to Make Rosettes
Frosting rosettes are created using a star tip. Depending on the size you'd like the rosettes you can go with a larger star tip for large rosettes or a small #16 for more delicate rosettes.
Hold your bag at a 90 degree angle and start from the middle of the rosette squeeze frosting out and make a complete circle around the middle.
You could create these with any colored icing and add leaves to resemble more like a rose.
Learn about making rosettes on cupcakes.
How to make roses
Cake Decorating Supplies Needed

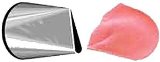
You will need one of these tips for roses
The key to making icing roses is to coordinate moving the nail and your tip at the same time.
- Using your flower nail create a base with tip 12. Squeeze frosting out creating a cone shape.
- Release pressure on pastry bag.
- With tip 104, hold your pastry bag 45 degrees on your rose
base. Start from the top and create 3 petals on each side.
- Make 5 more petals all around sides.
- Finish of making 7 petals all around sides.
- The turning of the nail and your piping will create rose petals.
- If it doesn't turn out well you can simply reuse your frosting and keep practicing.
- To remove your rose off the nail use kitchen scissors and lift rose from underneath.
- Position rose on your cake.
- You can use tip 104 for the rose base if it is easier for you.
Piping Leaves
Icing stems are just like writing on a cake . Leaves are a quick design using one pastry tip. Learn how to do it below with a video tutorial and directions.
Cake Decorating Supplies Needed
- Tip 3 for making stems
- Tip
67 or 352 leaves
- Frosting
- Pastry bags
- Coupler
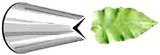
You will need this type of tip to make leaves
Instructions on Making Leaves
- To make a leaf use tip 67 or 352 in your pastry bag.
- Start at the top of your leaf.
- Squeeze frosting out making a wider end to your leaf.
- Draw your frosting up to a point making the tip of your leaf.
Instructions on Making Stems
- Use a pastry bag with tip 3.
- Squeeze out frosting where you would like your stems.
- Release pressure when you are done.
- Stems are simply like drawing a line of frosting, very easy to
do.
Decorating Techniques Writing
Writing on cake can be simply piping Happy Birthday or Congratulations. The method is quite simple and something that is easy to practice. It works great for kids cakes as they love to see their name written on a cake!Supplies Needed
- Pastry Bag
- Coupler
- Icing
- Tip
#'s 1-12, 1A, 2A, the smaller the number the smaller the
writing.
- Hold your bag at a 45 degree angle.
- Holding your pastry bag squeeze gently while "writing."
- Stop squeezing and pull away.
- Practice on a sheet of waxed paper or marble cutting board. When you are ready pipe your message on your cake.
You can use this same tip for making dots on cakes. You can add dots around the bottom border or elsewhere for designs. For big dots use tip #5 or #6 smaller dots use tip #2 or 3.
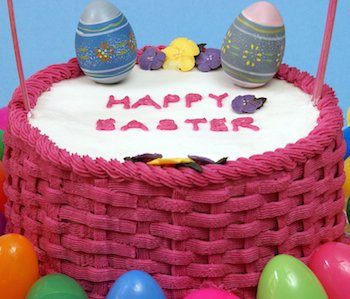
Rope Border - Cake Decorating Techniques
A rope border can be a great look for a western cake or to finish off a basket. I've even seen a rope design on the top of a graduation hat cake to create a tassel. It is a simple technique that just takes a little practice.
Example of a cake with a frosting rope along the bottom border
Supplies Needed
- Tip
21 or 17
- Frosting
- Pastry bags
- Coupler
- Start with your tip at 45 degree angle of your cake.
- Make a S on its side.
- Tuck tip in the first curve of the S.
- Squeeze frosting while moving tip up and over S.
- Tuck the tip in the next S and continue up and over.
- Continue until you reach the end.
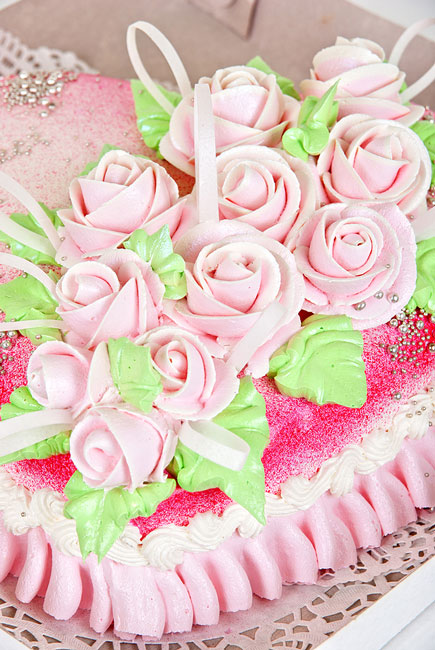
Frosting Ruffles
Making frosting ruffles is a quick technique that you can use as borders, part of designs such as a dress on a doll cake or as a swag across the side of your cake. It is easy to do, here is the instructions.
Example of icing ruffles
Supplies Needed
Icing Ruffles Instructions
- With your pastry bag ready, squeeze out starting with the fat end up and the narrow end down.
- Keep the fat end touching the cake.
- Lift the bottom end up as you go along making a ruffle.
Here are some ideas on how to decorate your cake with the cake decorating techniques.
Learn how to fill your cake before decorating it.
Related Cake Decorating Pages:
~10 Fun Ideas, ~Recipes, ~Piping Techniques, ~Jar Cakes, ~Cake Party, ~Decorating Borders, ~Decorating Techniques, ~Color Batter, ~Buttercream Transfer, ~Fondant Decorating, ~Fondant Recipes, ~Decorating Patterns, ~Chocolate Transfers, ~Cookie Cake, ~Cookie Decorating, ~Color Flow Decorating, ~Cake Pops, ~Push Pops, ~Fun Cupcake Ideas, ~Wrappers, ~Cupcake Bouquet, ~Cupcake Cakes, ~Tree Stand, ~How to make cupcakes, ~Frost Cupcakes, ~Giant cupcake, ~Cone Cakes, ~Heart Cupcakes, ~Cream Filled, ~Supplies
Get Free Kids Recipe Cards + Cooking Printables
Join Kids Cooking Activities for fun recipes, cooking ideas, and printable resources for kids, families, and classrooms.
Follow Kids Cooking Activities too:


© Debbie Madson, Madson Web Publishing, LLC — All rights reserved.
The material on this site is for educational purposes only.